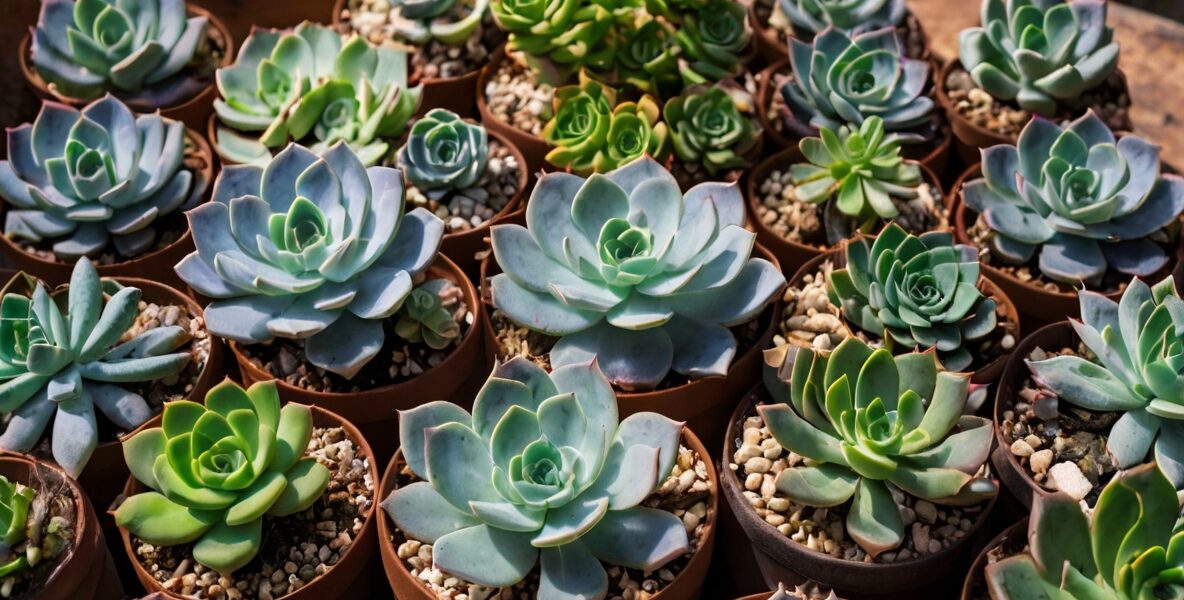
So, you just got your hands on some gorgeous succulents—congrats! These little plants are not only adorable but also (mostly) low maintenance. But if you’re new to succulents, you might be wondering, “Now what? How do I keep these beauties alive?”
Don’t worry—I’ve got you covered! Whether you grabbed them from a garden center, a big-box store, or even an online shop, I’m going to walk you through exactly what to do next to help your new succulents thrive.
Step 1: Don’t Rush to Repot (But Do Check the Roots!)
I know it’s tempting to transfer your succulents into those cute pots you bought, but hold on just a second! First, take a moment to inspect their roots.
- If they look healthy (white or light tan, firm, and not overcrowded), you can leave them in their nursery pot for a week or two to adjust to their new environment before repotting.
- If you see roots circling the bottom or packed tightly (root-bound), you’ll want to repot them sooner rather than later.
- If the soil they came in is super soggy, that’s a red flag—succulents hate sitting in wet soil. If that’s the case, go ahead and repot right away.
Step 2: Pick the Right Pot
Okay, so when you’re ready to repot, let’s talk pots! The most important thing? Drainage holes. Succulents don’t like wet feet, so make sure your pot has holes to let excess water escape.
Terracotta and ceramic pots are great choices because they let the soil breathe, but plastic or glazed pots can work too—just be extra careful not to overwater.
Step 3: Use the Right Soil
Regular potting soil? Nope. That stuff holds too much moisture, and your succulent’s roots will hate it. Instead, go for a well-draining succulent or cactus mix. If you want to DIY your own, mix:
- 2 parts potting soil
- 1 part coarse sand
- 1 part perlite or pumice
This keeps the soil loose and airy, preventing root rot (a succulent’s worst nightmare!).
Step 4: Let Them Settle
Once your succulent is in its new home, resist the urge to water it right away! I know, I know—it sounds weird. But repotting can stress the roots, and watering too soon can lead to rot. Give your plant about a week to adjust before introducing water.
Step 5: Find the Right Light
Succulents love light, but not all of them need the same amount. Here’s a quick guide:
- Bright, direct light (6+ hours a day): Most varieties, like echeveria and jade plants, thrive in full sun.
- Bright, indirect light: Some succulents, like haworthia and snake plants, prefer a little less intense sunlight.
- Low light? Not ideal. If you don’t get much natural light, consider a grow light to keep your succulents happy.
If your succulent starts stretching and getting leggy, that’s a sign it’s not getting enough light!
Step 6: Watering—Less is More!
Here’s where a lot of new succulent owners go wrong. These plants store water in their leaves, so they don’t need frequent watering. The golden rule? Soak and dry.
- Water deeply until water drains from the bottom of the pot.
- Then, wait until the soil is completely dry before watering again (usually every 10–14 days, but it depends on your climate).
- No misting! Misting is for tropical plants, not succulents.
If the leaves start shriveling, they might need more water. If they get mushy, you’ve overdone it.
Step 7: Watch for Pests and Problems
Even succulents can run into issues. Keep an eye out for:
- Mushy leaves or black spots → Overwatering or root rot.
- Leggy, stretched-out growth → Not enough light.
- Wrinkled, deflated leaves → Needs water.
- White, cotton-like stuff → Mealybugs! Wipe them off with alcohol on a cotton swab.
Step 8: Long-Term Care and Growth
Once your succulents are settled, they’ll mostly take care of themselves! A few tips for long-term success:
- Fertilize occasionally (once every 2–3 months) with a diluted succulent fertilizer.
- Rotate your pots so they grow evenly and don’t lean toward the light.
- Trim dead leaves to keep them looking fresh.
